
Church design drawings typically include detailed architectural plans that address the unique requirements of a place of worship. These designs often consider factors like the layout of the sanctuary, seating arrangements, altar positioning, acoustics, lighting, and aesthetic elements like stained glass windows and spires.
Components of Church Design Drawings
- Site Plan: Shows the church’s location on the property, including parking areas, landscaping, and access points.
- Floor Plan: Outlines the interior layout, including the nave, aisles, altar, vestry, and any additional spaces like offices or fellowship halls.
- Elevation Drawings: Illustrate the exterior appearance, including facade details, roof structure, and towers or steeples.
- Section Drawings: Provide cross-sectional views to show relationships between different levels, ceiling heights, and structural elements.
- Detail Drawings: Focus on specific architectural features, such as windows, doors, columns, and decorative elements

Categories
- 3D HOUSE DESIGN (37)
- Civil and Structural Design Calculations (77)
- Commercial Plans (9)
- East Facing House Plans (14)
- Engineering Concepts – Civil & Structural (228)
- Excel Spreadsheets (37)
- Free Downloads (49)
- House Plans (57)
- Industrial standards (92)
- North Facing House Plans (15)
- South Facing House Plans (15)
- West Facing House Plans (9)
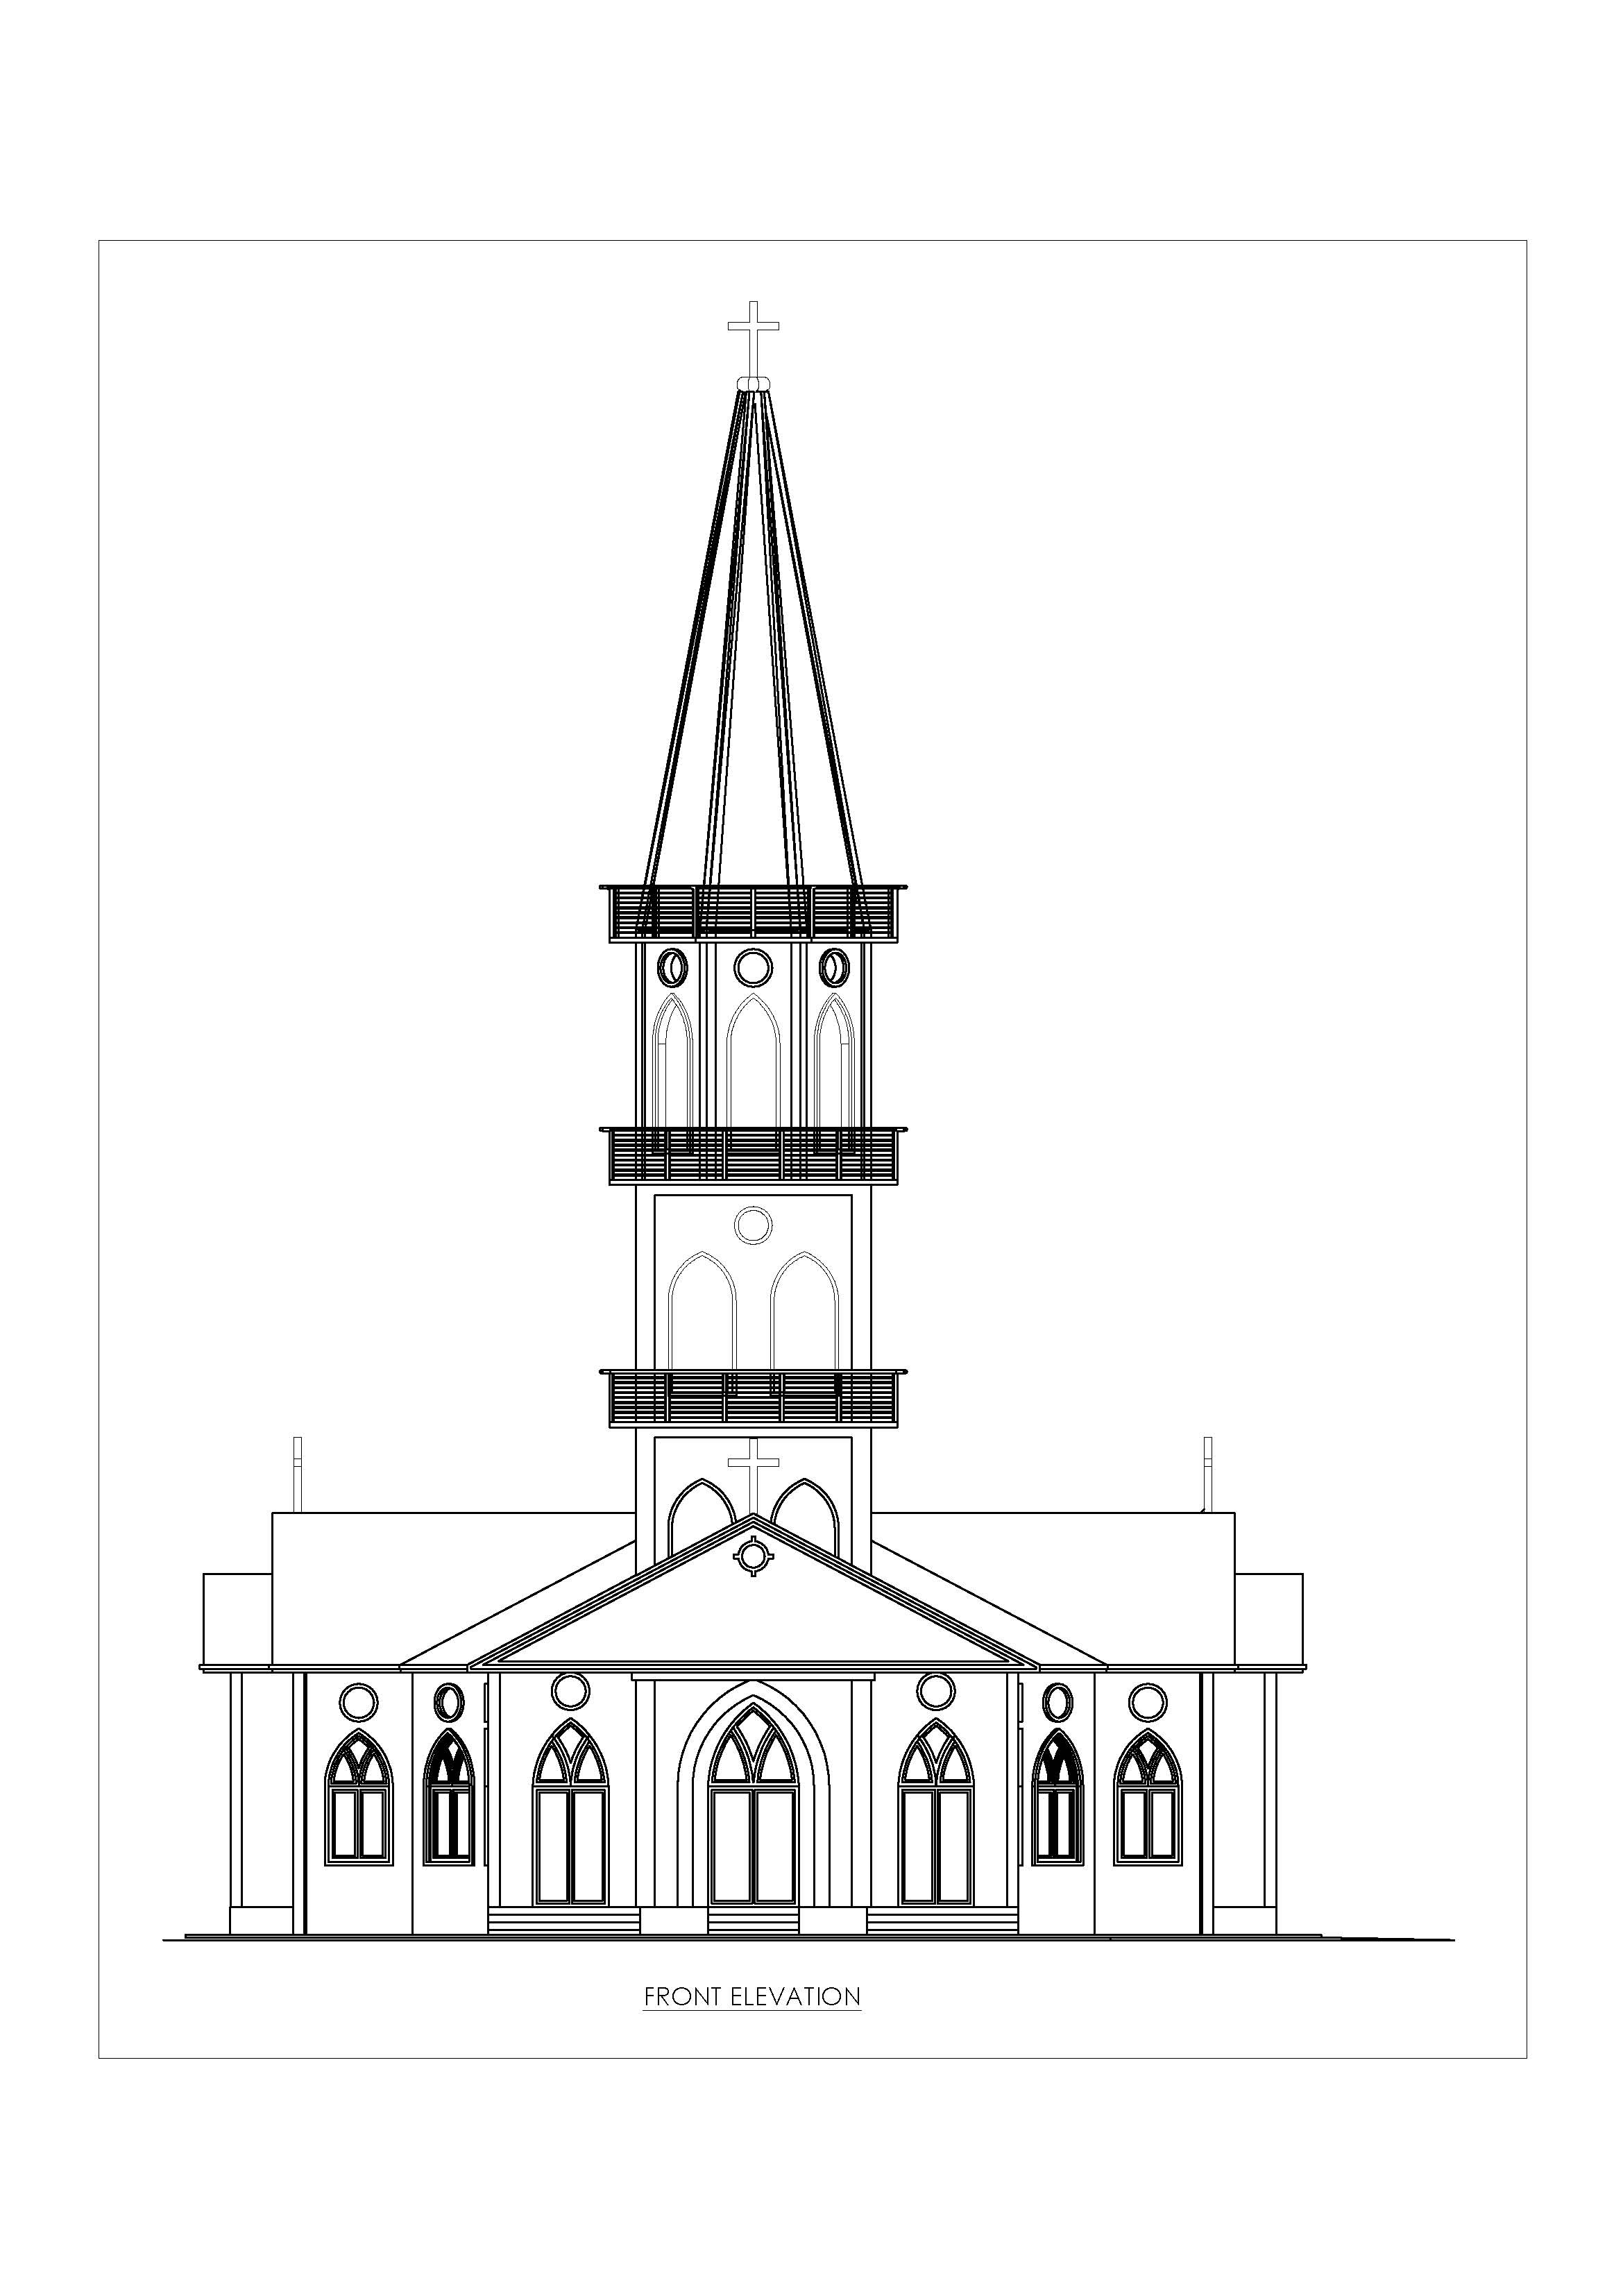
Church Front Elevation
Designing a front elevation involves creating a detailed drawing or representation of the exterior facade of a building as seen from the front. This drawing shows the architectural elements, materials, and design aesthetics that will be visible when viewing the building from the street or main approach.
Steps to Design a Front Elevation
1. Understand the Building’s Purpose and Style
- Determine the architectural style: Is it modern, traditional, colonial, contemporary, etc.?
- Consider the building’s purpose: Residential, commercial, institutional, or mixed-use.
- Inspiration and research: Look at similar buildings or architectural examples to gather ideas.
2. Draft the Basic Structure
- Start with the outline: Draw the basic shape of the building, including the roofline, walls, and any major structural features.
- Add levels and dimensions: Show the different levels (floors) of the building, and make sure to include accurate dimensions.
3. Incorporate Architectural Elements
- Windows and Doors: Position windows, doors, and other openings in a way that complements the building’s style and function.
- Roof Details: Include roof type (flat, gabled, hipped, etc.), pitch, and any overhangs or parapets.
- Balconies and Porches: Add any balconies, porches, or terraces with railings, columns, and steps.
- Decorative Elements: Include cornices, moldings, trims, or other decorative features that define the style.
4. Material Selection
- Exterior Finishes: Decide on the materials for walls (brick, stucco, stone, wood, etc.), roofing, and trim.
- Texture and Color: Use hatching, shading, or color to represent different materials and finishes in the drawing.
- Siding or Cladding: Incorporate any siding or cladding materials like shingles, panels, or tiles.
5. Add Architectural Details
- Doors and Windows: Include details like shutters, sills, lintels, and grills.
- Ornamentation: Add elements like arches, columns, and pediments if they fit the style.
- Lighting Fixtures: Position exterior lights like sconces, lanterns, or modern fixtures.
- Landscaping: Show how the building integrates with the surrounding landscape, such as paths, steps, and gardens.
6. Consider Proportions and Symmetry
- Balance: Ensure that windows, doors, and other elements are balanced and proportionate.
- Symmetry: Decide if the design will be symmetrical or asymmetrical, depending on the style.
- Scale: Make sure all elements are to scale relative to each other and the overall structure.
7. Detail the Roofline
- Roof Design: Detail the roof’s shape, angles, and overhangs. Include gutters, downspouts, and eaves.
- Dormers and Skylights: If applicable, add dormers, skylights, or other roof features.
8. Review and Refine
- Check for Accuracy: Ensure all dimensions, scales, and proportions are correct.
- Refine Aesthetics: Adjust any design elements to improve the overall look and cohesion.
- Consult with Stakeholders: Get feedback from clients, architects, or other stakeholders.
Tips for Designing a Front Elevation
- Harmony and Proportion: Ensure that all elements are harmonious and proportionate.
- Simplicity vs. Complexity: Decide whether to keep the design simple or add more intricate details based on the project’s requirements.
- Use Software: Consider using architectural design software like AutoCAD, SketchUp, or Revit for precision and visualization.
- Consider the Environment: Think about how the elevation will fit into the surrounding environment and comply with local regulations.
Tools and Resources
- Architectural Design Software: AutoCAD, SketchUp, Revit, ArchiCAD.
- Design Inspiration Websites: Pinterest, Houzz, ArchDaily.
- Books: “Architectural Graphic Standards” by American Institute of Architects, “Design Drawing” by Francis D.K. Ching.
Conclusion
Designing a front elevation is a creative and technical process that involves careful planning, attention to detail, and a good understanding of architectural principles. By following the steps and tips provided, you can create a front elevation that is both aesthetically pleasing and functionally sound.

Church Side Elevation

Recent Posts
- Concrete Failures in Buildings and How to Fix Them
- Australian Code Load Combinations
- Modular Kitchen | Kitchen Cabinet Design Ideas with Cost |
- Bathroom Design Ideas for Modern Homes
- Manhole Types and Details
- Catch Basin Types and Details
- Eurocode Base Plate Calculator – EN 1993-1-8
- Base Plate Design Calculation AS 4100
- Base Plate Design Calculator CSA A23.3
- Base Plate Design Calculator ACI 318
- Base Plate Design as per IS 800 2007
- East Facing 38×56 House Plan – Ground & First Floor Design with 3BHK + Home Theatre
- Foundation Detail Drawings for Buildings With CAD Files
- Bar Bending Schedule | BBS Calculator For Beam Column and Slab
- Room Paint Calculator | Paint, Primer & Putty Quantity & Cost Estimator
- Load Conversion & Stress Calculator | kN to kg, ton, N, MPa Online
- Water Tank Capacity Calculator – Feet & Meter Conversion (Litres & Gallons)
- Brick Wall Construction Calculator | Calculate Bricks & Cost Instantly |
- Unit Converter – Feet, Inches, cm, mm, Yard to Meter and Vice Versa
- Lifting Analysis of Skid Using Spreader Beam 4-Point
- Base Plate Design as per IS Code | IS 800:2007 Steel Column Base |
- Laser Cut Railing Price in India 2025 | MS & SS CNC Balcony Designs
- MS Balcony Railing Price in India 2026 | Mild Steel Railing Works |
- Stainless Steel with Glass Handrail Price 2026
- Modern Duplex House West Facing 36 x 48
- Pooja Room Door Design
- Modern House 3D Design – Visualizing Your Dream Home
- Balcony Railing Designs for Modern Homes
- Civil Engineering Interview Questions and Important Practical Foundation
- Wind Load Calculation IS 875 Part 3 2015
- Front Elevation Design for Modern Homes
- Road Turning Radius as per IS/IRC Codes and International Standards AASHTO BS/DMRB
- Foundation Design ACI 318 pdf & Excel Download
- Steel Staircase Design
- Front Elevation 20×60 House
- Steel Shed with Mezzanine Floor
- Structural Masonry Designers Manual
- Water Supply Piping Plan and Plumbing Schematic Diagram
- Sump Pit Drawing
- Design of Steel Silo
- Design of Beam to Beam End Plate Connection
- DESIGN OF FLAT SLAB pdf Free Download
- Design of Thrust Block
- Cage Ladder Detail Standard Drawing pdf Free Download
- DESIGN OF BARREL FOR BOX CULVERT pdf Free Download
- Design of Retaining Wall Calculation pdf Free Download
- Analysis and Design of Drain Sump Pit
- Design of High Rise Buildings as per Eurocode
- Design of Steel Shelter as per IS 800
- Octagonal Pedestal Design