
Creating an architectural drawing involves several steps, from initial conceptual sketches to detailed, scaled plans. Here’s a comprehensive guide on how to create an architectural drawing:
- Gather Requirements and Site Analysis
Client Briefing:
- Understand the client’s needs, preferences, and budget.
- Discuss the purpose, function, and aesthetics of the project.
Site Analysis:
- Analyse the site location, dimensions, topography, and orientation.
- Consider environmental factors such as sunlight, wind direction, and views.
- Check local building codes, zoning laws, and regulations.
- Conceptual Design
Initial Sketches:
- Create rough sketches to explore different design ideas and concepts.
- Focus on the layout, massing, and basic form of the building.
Bubble Diagrams:
- Use bubble diagrams to outline the spatial relationships and flow between different areas.
Floor Plan Layout:
- Draft preliminary floor plans showing the arrangement of rooms and spaces.


Conceptual Design
Initial Sketches:
- Create rough sketches to explore different design ideas and concepts.
- Focus on the layout, massing, and basic form of the building.
Bubble Diagrams:
- Use bubble diagrams to outline the spatial relationships and flow between different areas.
Floor Plan Layout:
- Draft preliminary floor plans showing the arrangement of rooms and spaces.
- Preliminary Design
Scaled Drawings:
- Create scaled drawings of floor plans, elevations, and sections.
- Use a consistent scale, such as 1/4 inch = 1 foot or 1:100.
Design Development:
- Refine the design based on feedback from the client and other stakeholders.
- Focus on the details of the layout, materials, and overall aesthetics.
- Detailed Design
Floor Plans:
- Draw detailed floor plans showing all rooms, doors, windows, and dimensions.
- Include furniture layout to give a sense of space utilization.
Elevations:
- Create elevation drawings to show the exterior views of the building.
- Include details such as materials, colors, and textures.
Sections:
- Draw sectional views to show the building’s internal structure and details.
- Highlight important features such as floor levels, ceiling heights, and structural elements.
Roof Plan:
- Include a roof plan showing the design, materials, and drainage system.
Site Plan:
- Create a site plan showing the building’s location, orientation, landscaping, and access points.
Technical Drawings
Structural Drawings:
- Detail the structural components such as foundations, beams, columns, and slabs.
- Include reinforcement details and load calculations.

Electrical Plans:
- Show the layout of electrical fixtures, outlets, switches, and wiring.
- Include details of the main distribution board and circuits.
Plumbing Plans:
- Illustrate the plumbing system, including pipes, fittings, fixtures, and drainage.
- Include water supply and wastewater management details.
HVAC Plans:
- Detail the heating, ventilation, and air conditioning system.
- Show the location of ducts, vents, units, and controls.

Construction Drawings
Working Drawings:
- Create comprehensive working drawings for construction.
- Include all details, dimensions, and specifications required for building.
Schedules:
- Prepare schedules for doors, windows, finishes, and fixtures.
- Include detailed information on sizes, materials, and hardware.
Detail Drawings:
- Provide detailed drawings for specific elements such as staircases, joinery, and built-in furniture.
- Software Tools
CAD Software:
- Use CAD software like AutoCAD, Revit, or ArchiCAD for precision and efficiency.
- Ensure all drawings are to scale and adhere to drafting standards.
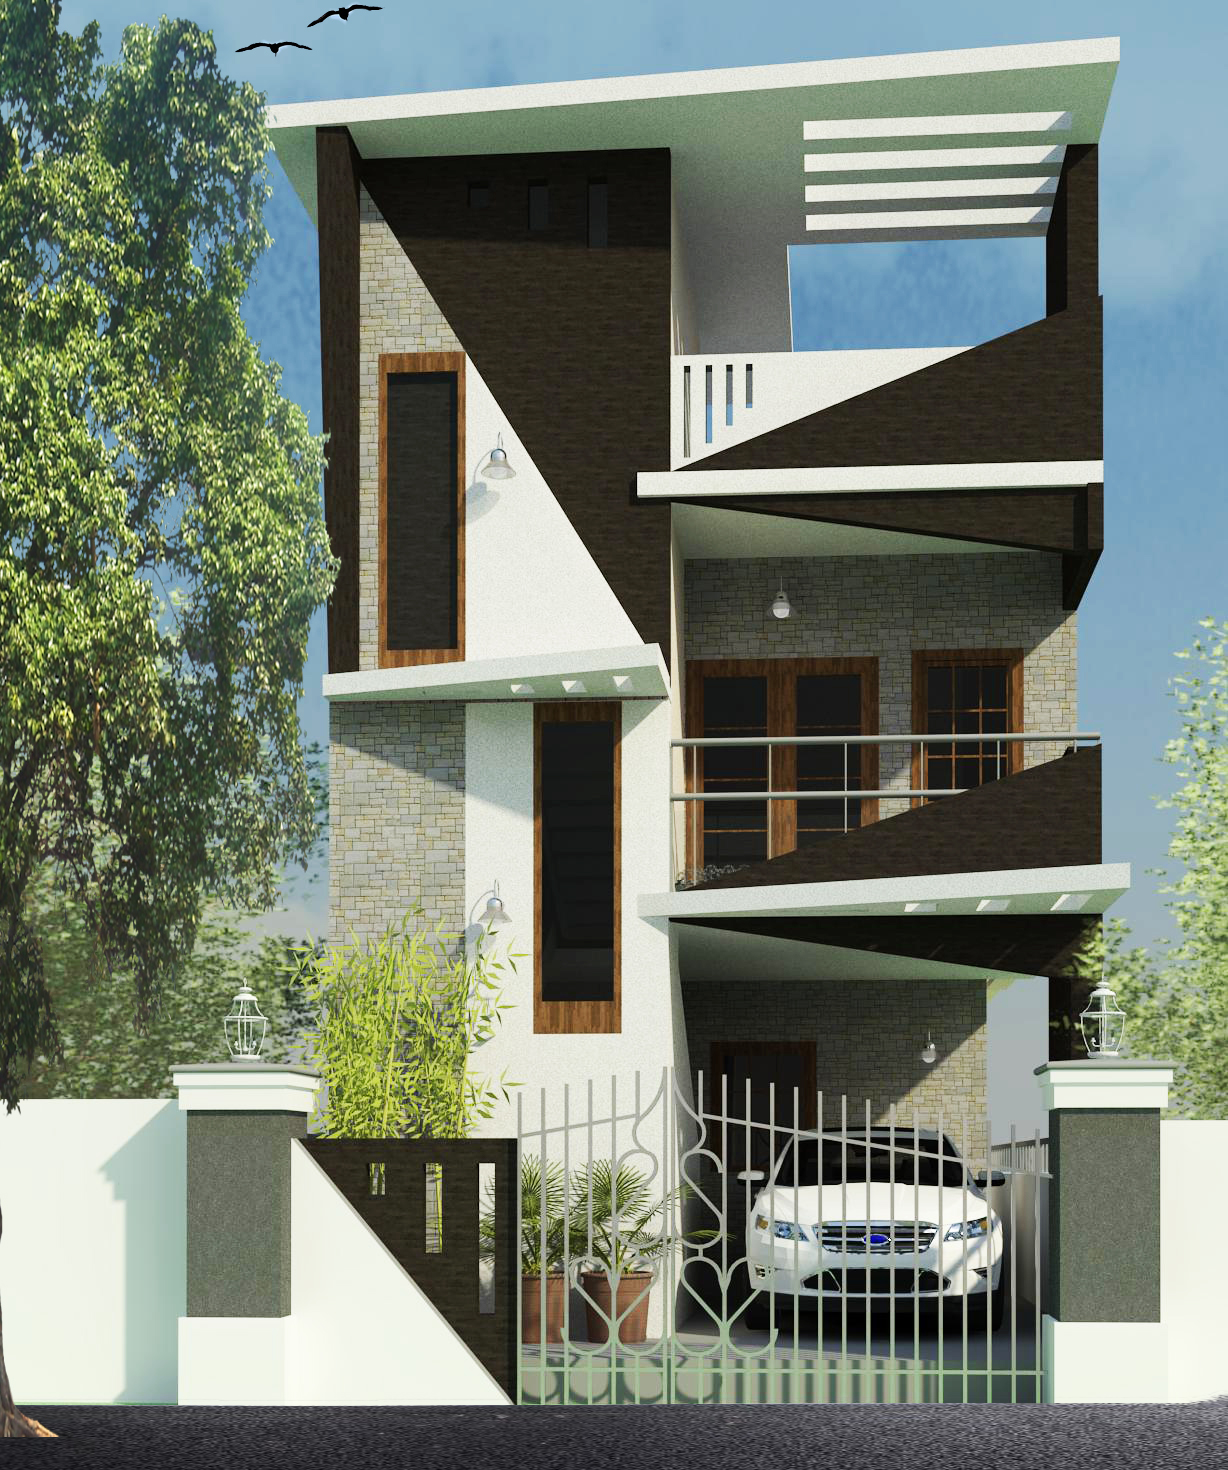
3D Modeling:
- Use 3D modeling software like SketchUp, Rhino, or 3ds Max to create realistic visualizations.
- Provide clients with 3D renderings to better understand the design.
- Review and Approval
Client Review:
- Present the final drawings to the client for review and approval.
- Make any necessary revisions based on feedback.
Regulatory Approval:
- Submit drawings to local authorities for building permits and approvals.
- Ensure compliance with all building codes and regulations.
- Documentation and Archiving
Document Control:
- Organize and label all drawings and documents clearly.
- Maintain a record of revisions and changes.
Archiving:
- Archive the final drawings and project documents for future reference.
- Store both digital and physical copies securely.
Example: Creating a Simple Residential Floor Plan
- Initial Sketch:
- Draw rough sketches of the floor plan layout.
- Experiment with different room arrangements.
- Preliminary Floor Plan:
- Draft a scaled floor plan (e.g., 1/4 inch = 1 foot).
- Include basic dimensions and room labels.
- Detailed Floor Plan:
- Add detailed dimensions, door and window placements, and furniture layout.
- Include notes on materials and finishes.
- Elevation Drawing:
- Draw the front, side, and rear elevations.
- Detail the exterior materials, roof design, and windows.
- Section Drawing:
- Create a sectional view showing floor levels, ceiling heights, and structural elements.
- Highlight key features like staircases and internal walls.
Conclusion
Creating architectural drawings is a detailed process that involves several stages, from initial sketches to final construction documents. Using appropriate tools and techniques, and ensuring clear communication with clients and stakeholders, will result in a successful architectural design.
Categories
- 3D HOUSE DESIGN (37)
- Civil and Structural Design Calculations (80)
- Commercial Plans (9)
- East Facing House Plans (14)
- Engineering Concepts – Civil & Structural (234)
- Excel Spreadsheets (37)
- Free Downloads (51)
- House Plans (58)
- Industrial standards (95)
- North Facing House Plans (15)
- South Facing House Plans (15)
- West Facing House Plans (10)